Painting a ceiling can be a big pain in the neck with the physical strain of painting over your head, the dripping paint and not really knowing how well you are doing until you step off the ladder. However, there are ways to make the job easier and more enjoyable as professional house painters do.
Use the Right Paint
Use the type of paints that are specifically designed for ceilings as they are thicker and less likely to drip or spatter. Plus, use “magic paints” that start as a different color than white so you can see what you miss, but then they turn to white after they dry.
Consider Using a Color other than White
Although traditional ceiling paints are white to increase the reflective qualities of light, you can use paints of colors that change the appearance of the room itself. For rooms with high ceilings, use a paint that is slightly darker than the walls. You can increase this effect by painting the top of the walls the same color as the ceiling. For low ceilings, paint it a lighter color.
Use the Right Amount of Paint
Multiply the width and length of the ceiling to get its area, then divide the area by 350 to the estimated square footage covered by a gallon of paint for smooth surfaces. With a rough surface, divide by 200 to estimate the number of gallons you will need to purchase. If the ceiling is domed or cathedral in nature, then allow for extra paint to be needed.
Prepare the Room
Remove everything from the room and cover the floor with a tarp. Wash the ceiling using water and detergent, rinse and allow it to dry. Use a putty knife to fill holes, cracks and dents with spackling or acrylic caulk and smooth it out, then sand it after it dries.
Prime the surface with an oil or latex based stain-blocking primer if the ceiling has been repaired or discolored.
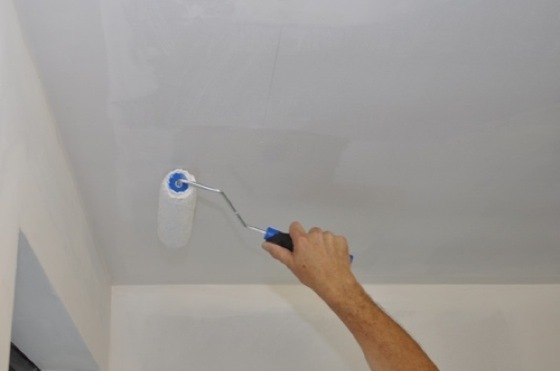
Apply the Paint
Using a large roller on an extension will keep you off the ladder so the painting can go faster. However, you will still need to do the edges with a 2” or 3” brush. To avoid having a visible line that appears when painting into a dry edge, start at the narrowest part of the ceiling near the window side and cut in no more than 2’ length to roll sections about 2’ square.
Roll the paint diagonally such as making the letter “M” and fill the unpainted area by cross rolling while applying it liberally in one cross direction. Using a ¾” nap will roll paint onto a rough ceiling much faster while a ½” pile is good for smooth surfaces.
Try retrofitting a clean, empty 5-gallon pail with a roller grid or wire ramp that attaches to the rim and used to roll off excess paint from the roller. Then, pour ½ gallon of paint into the bucket, dip the roller so that the paint doesn’t rise above the nap and distribute evenly by rolling it on the grid before applying it to the ceiling.
For those who want to brush the ceiling, use a large 8” brush to make the job go faster. Use short strokes from the wet edge to the unpainted area, then brush back for a smooth finish.
Following these techniques will bring results just like a professional house painter would do.


